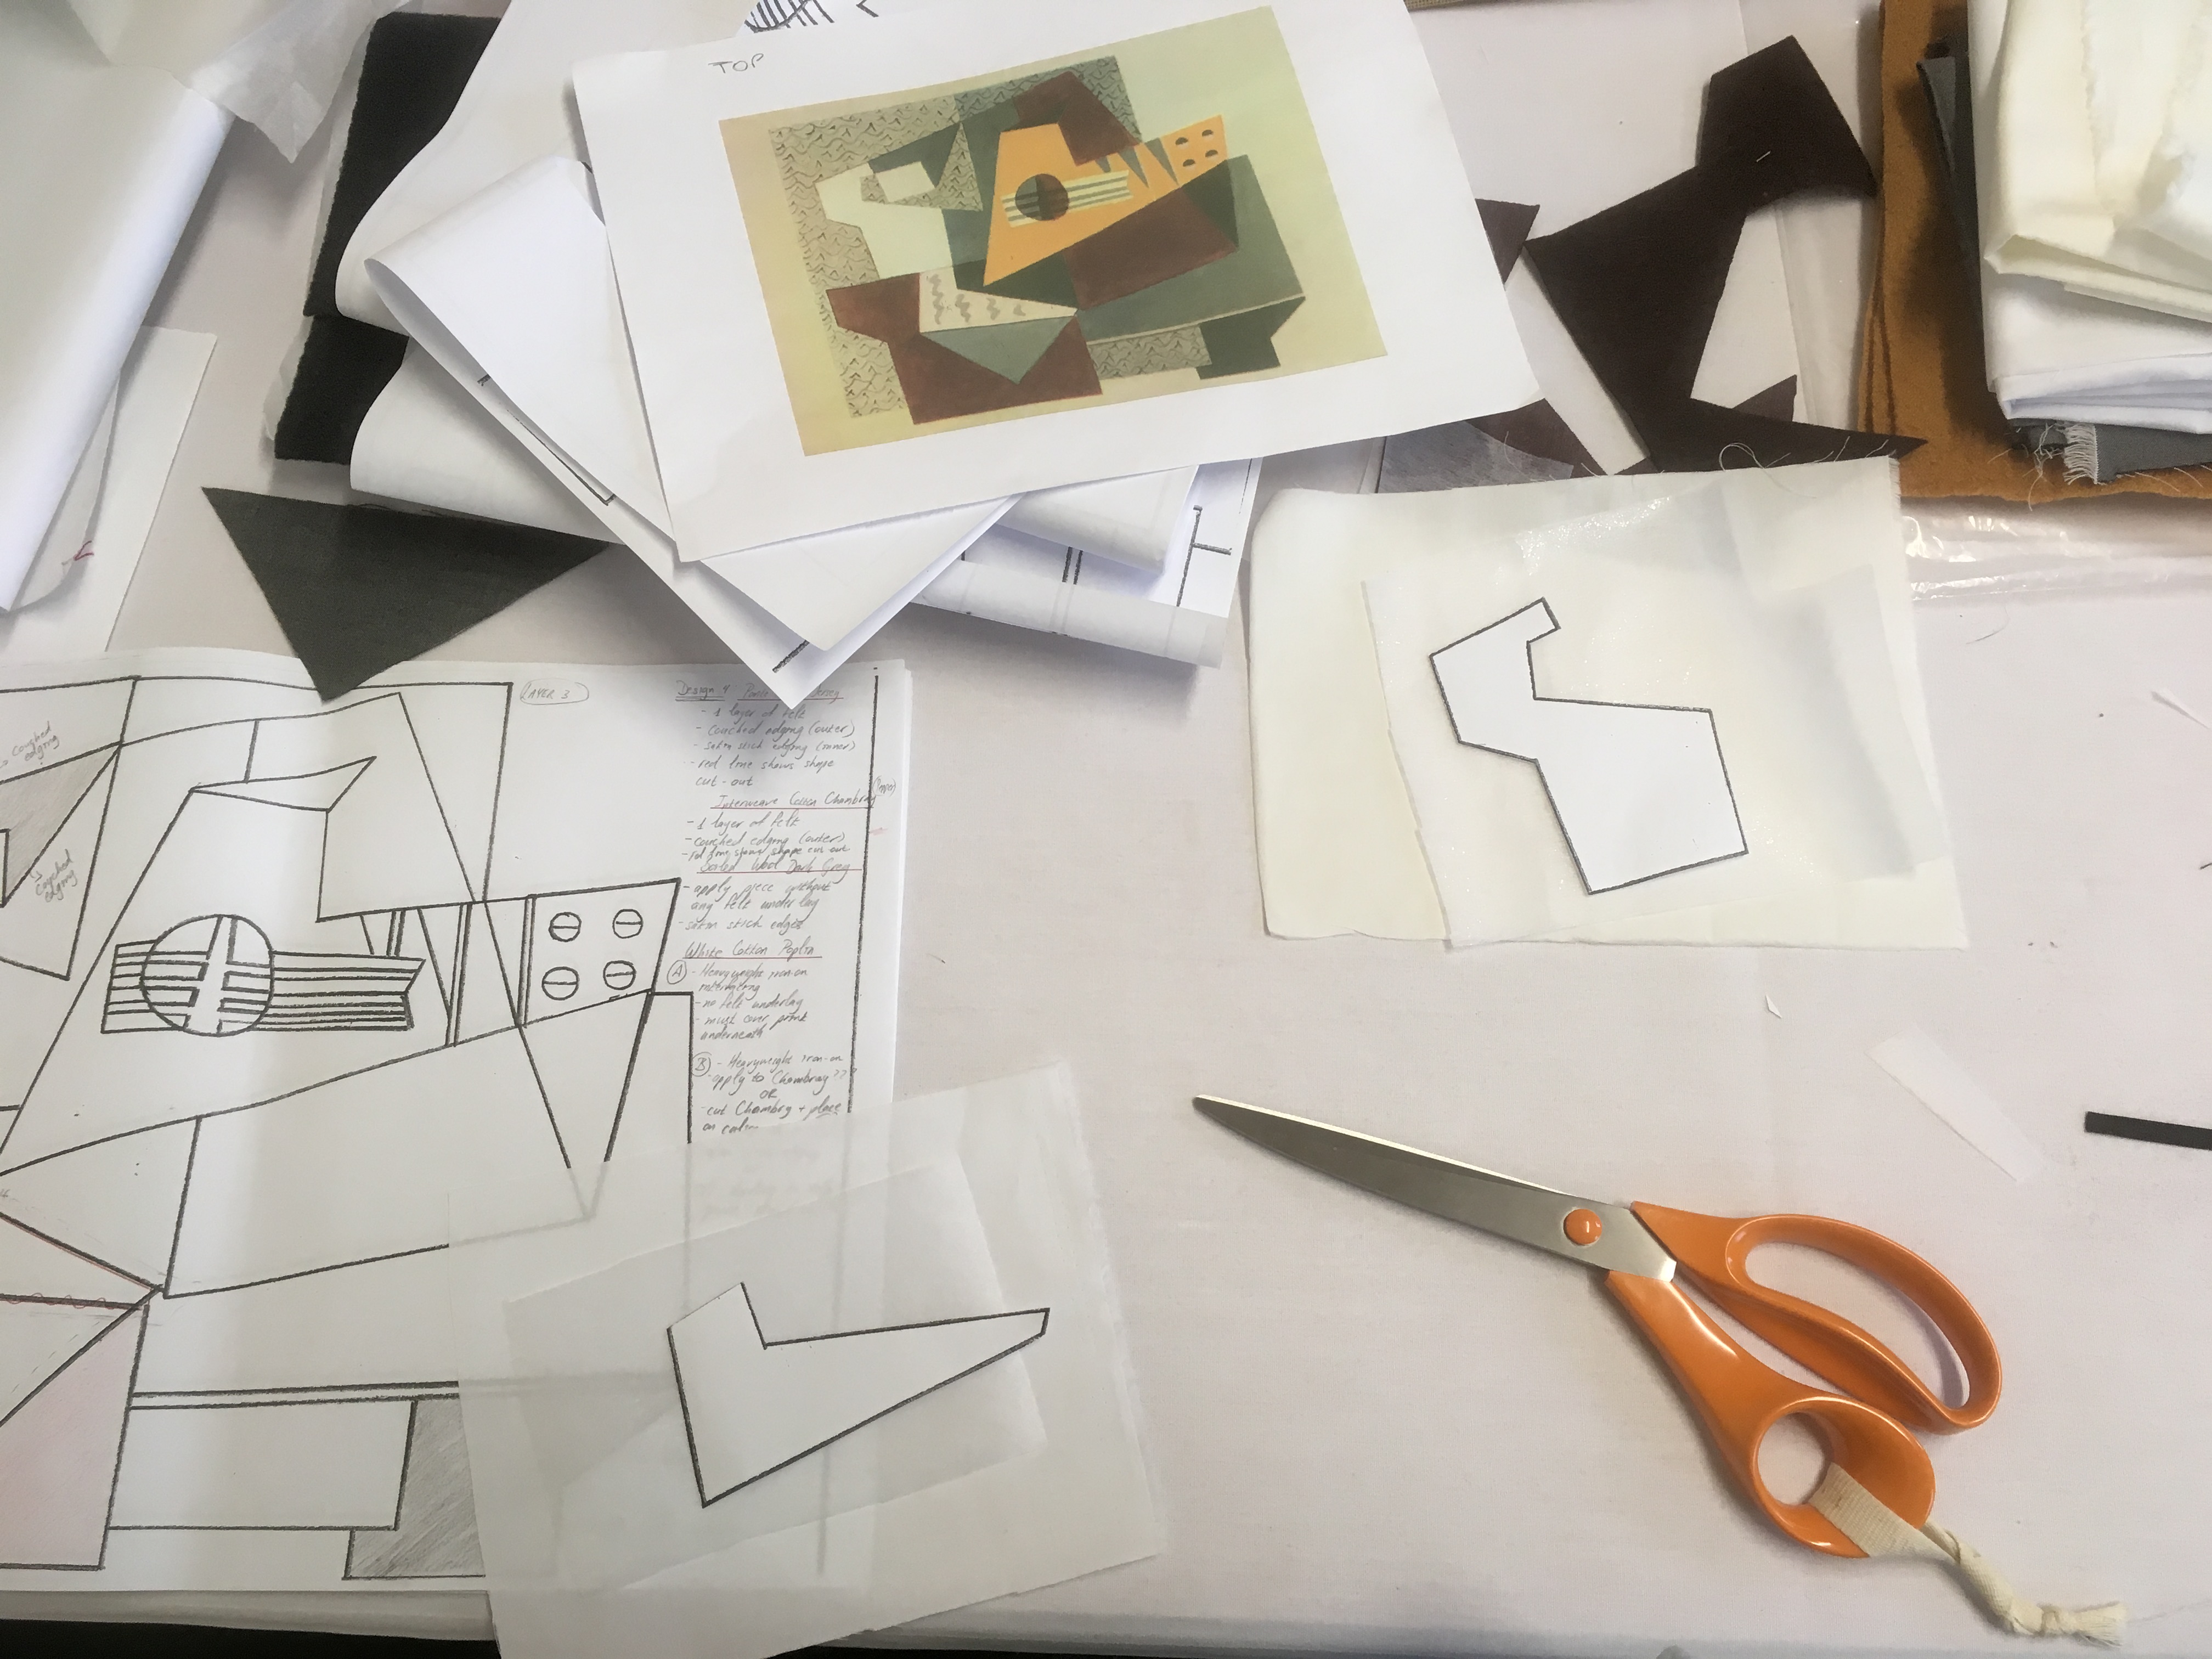
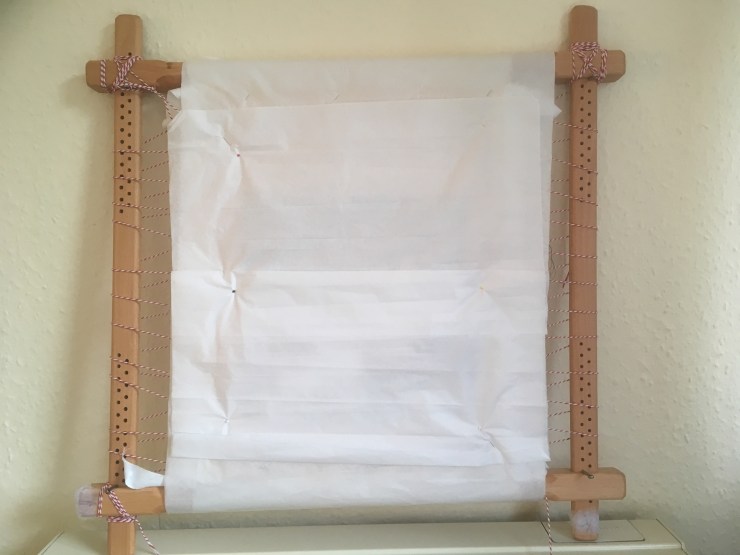
As promised, my next post is to describe the framing up process. Before starting any piece of embroidery, the first thing to decide, is on what you are going to embroider. I’m not talking about the base fabric, but what you are actually going to put your fabric on in order to embroider. Most people would recognise hoops which are often used, but my preference is the slate frame. Slates and hoops merit another post, so I’m just going to talk about using a slate frame in this post. A slate frame is made up of rollers and stretchers. The rollers shown at the top and bottom of the frame below contain an attached piece of cotton webbing (concealed in the following picture), whereas the stretchers are the perforated pieces and will contain a metal peg at each end to push the rollers in order to create a taut surface on which to embroider:
So far I’ve only ordered my slates through the RSN and they come in either 46 cm (18”) or 61 cm (24”) and are much more expensive than regular hoops. Price is the biggest drawback regarding this equipment, but they are exceptionally sturdy and will last a very long time. I will only basically go through the process of framing up here as any book produced by the RSN will give a very good description of how to frame up properly.
First of all you need to find the centre of the fixed linen strips of webbing on the two rollers (one of them is shown on the top of the slate below) by measuring from the large holes on either side of roller (where the stretchers are placed in this photo on the right and left) and mark with a pencil. This is only done once when using the slate for the very first time as the pencil mark designating the centre will be re-used in following pieces. Find the centre of the base fabric you are going to be working on (in this case the base calico, undyed). Fold over the base fabric, pin the centre and then align the centres of the fabric and the webbing on the rollers. Pin the two together and sew over the edges securing the fabric to the webbing. The picture below shows the attached webbing on the roller with the calico sewn on (which is not very apparent):
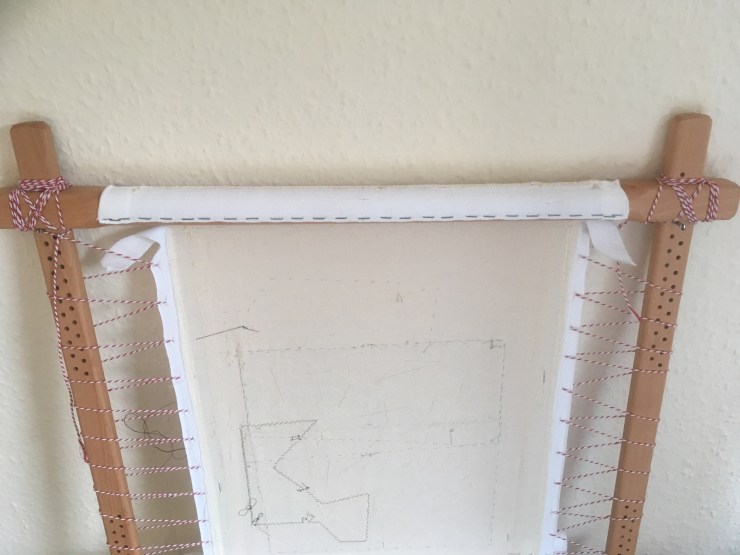
The stretchers are then inserted and metal pegs are put into the holes in order to hold the rollers into place:


As can be seen from the above pictures, once the pegs are in place, another strip of webbing needs to be sewn onto (in this case) the calico base. You need to cut a piece of webbing tape a little longer than the calico base frame, pin it onto the calico and then fasten it to the calico with buttonhole thread using a basting stitch. Once webbing has been sewn on to each side of the calico, a malicious looking instrument called a bracing needle (used particularly in upholstery) is threaded with twine or very thick string which you take up through the webbing strip and over the stretchers in order to create the loops which attach the two sides of the fabric to the stretchers. You need to leave a good amount of twine to be able to wind around the ends of the rollers. Here are some pictures of the equipment used:


Once the loops have been created with the twine you have to pull the loops taut starting from the centre and working out. At the end, tie the twine to the roller. The stretchers will also be adjusted, it may involve placing the frame in a standing position on the floor and with your heal on the end of the bottom roller, push down and place the peg in a lower hole on the stretcher. Repeat on each side until the desired tightness is achieved. In many types of embroidery, this needs to be drum tight, but in appliqué the tightness of the calico needs to be constantly changed: when applying fabric, keep it a little loose, when embroidering edges or cords, in needs to be tightened. This helps to prevent puckering (which is my worst enemy) and fabric distortion. Up next is applying the design…!
