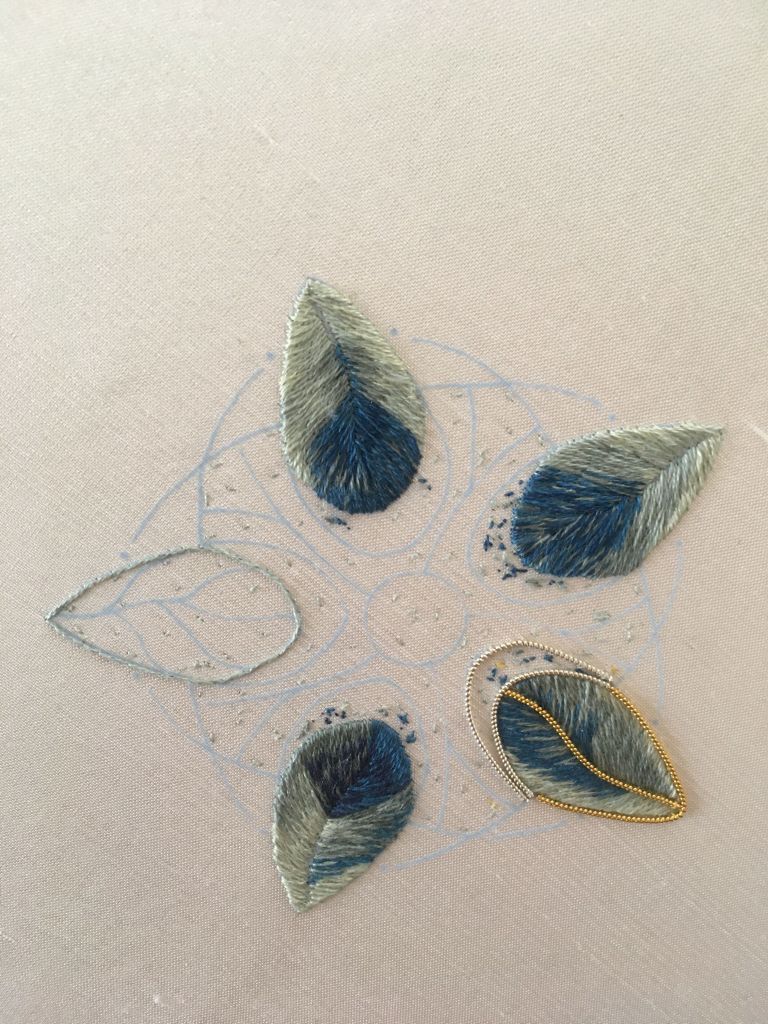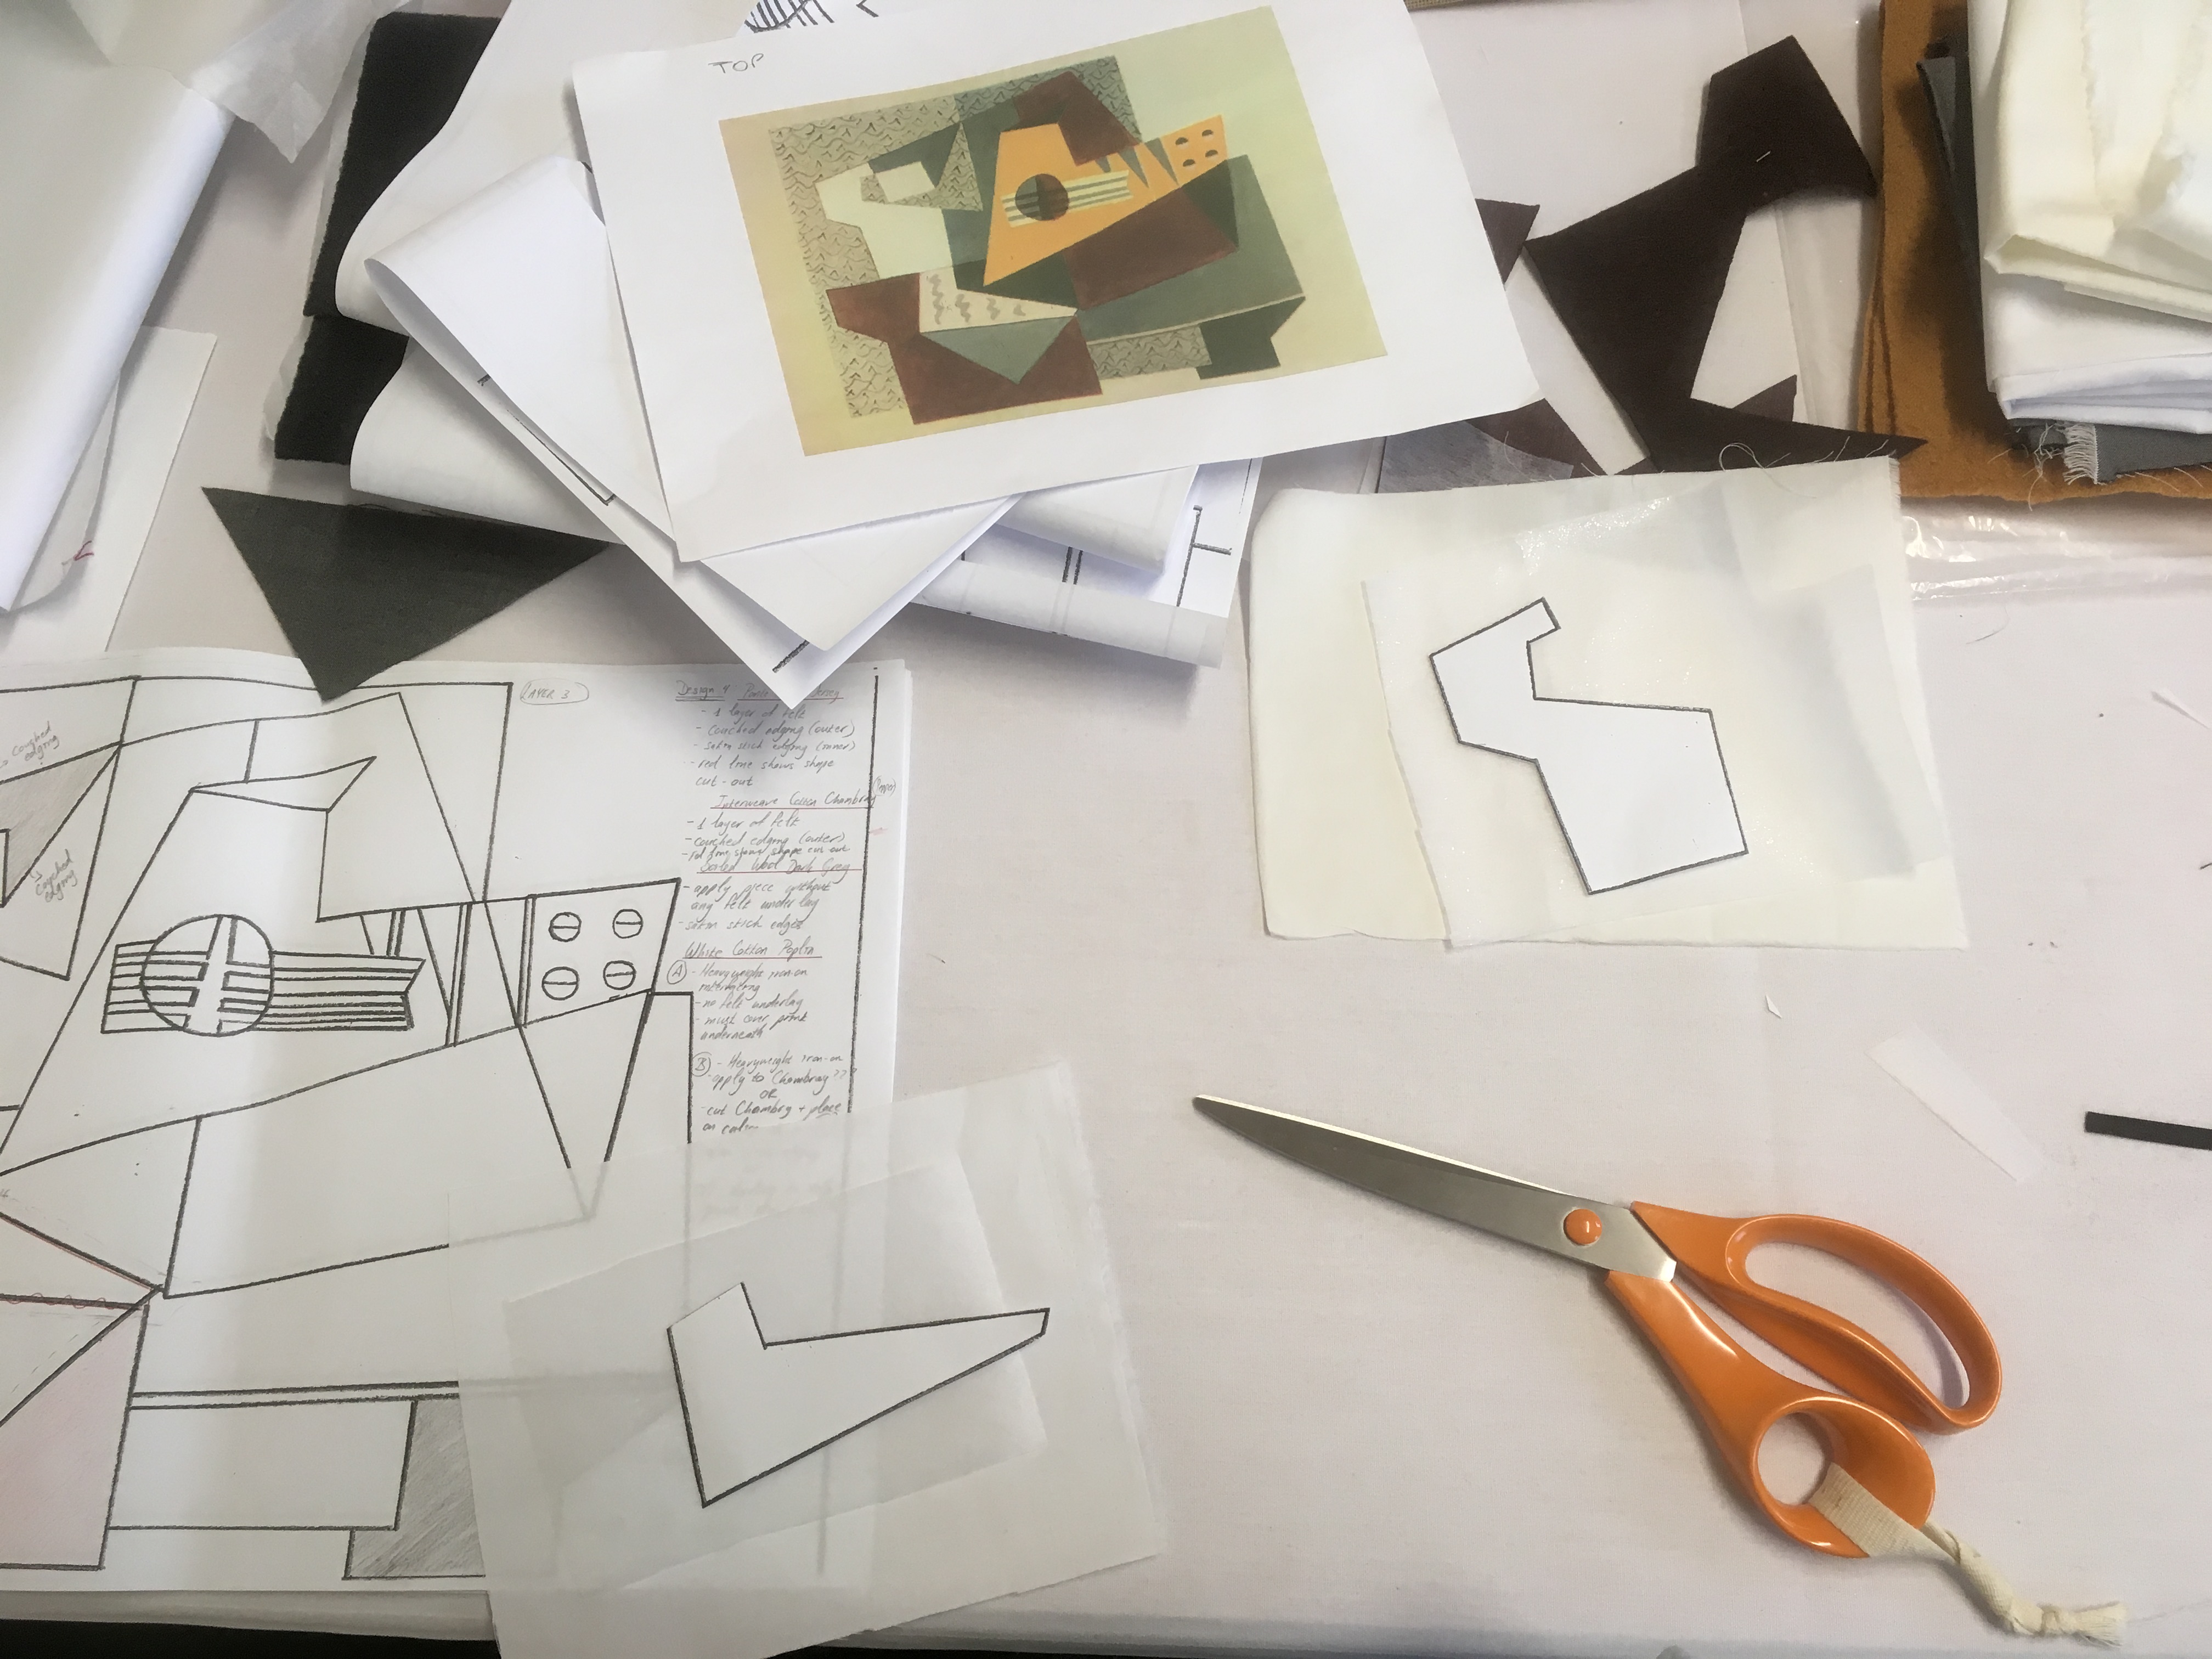
Back in March, 2019 I participated in a two day workshop in Rugby, U.K., taught by the R.S.N. tutor Sarah Smith. Sarah’s workshop was based on her kit which itself is inspired by a brooch crafted by the Catalan jeweller, Lluís Masriera. The design incorporates Silk Shading and elements of Goldwork. One of the reasons why I participated in this workshop was, aside from the beauty of this design, to have a second try at Silk Shading. During my R.S.N. certificate, I had to do a module on Silk Shading, and I must admit it was not a great experience – more about that in another post as I want to keep the positivity up in this one since this project was a very positive experience.
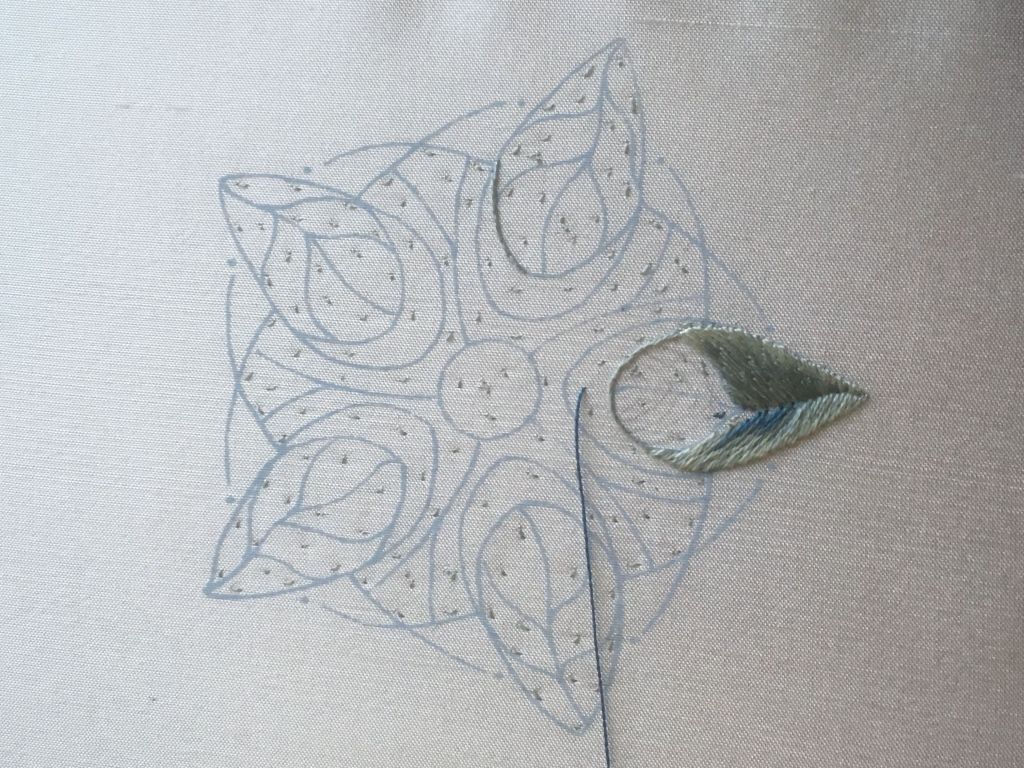
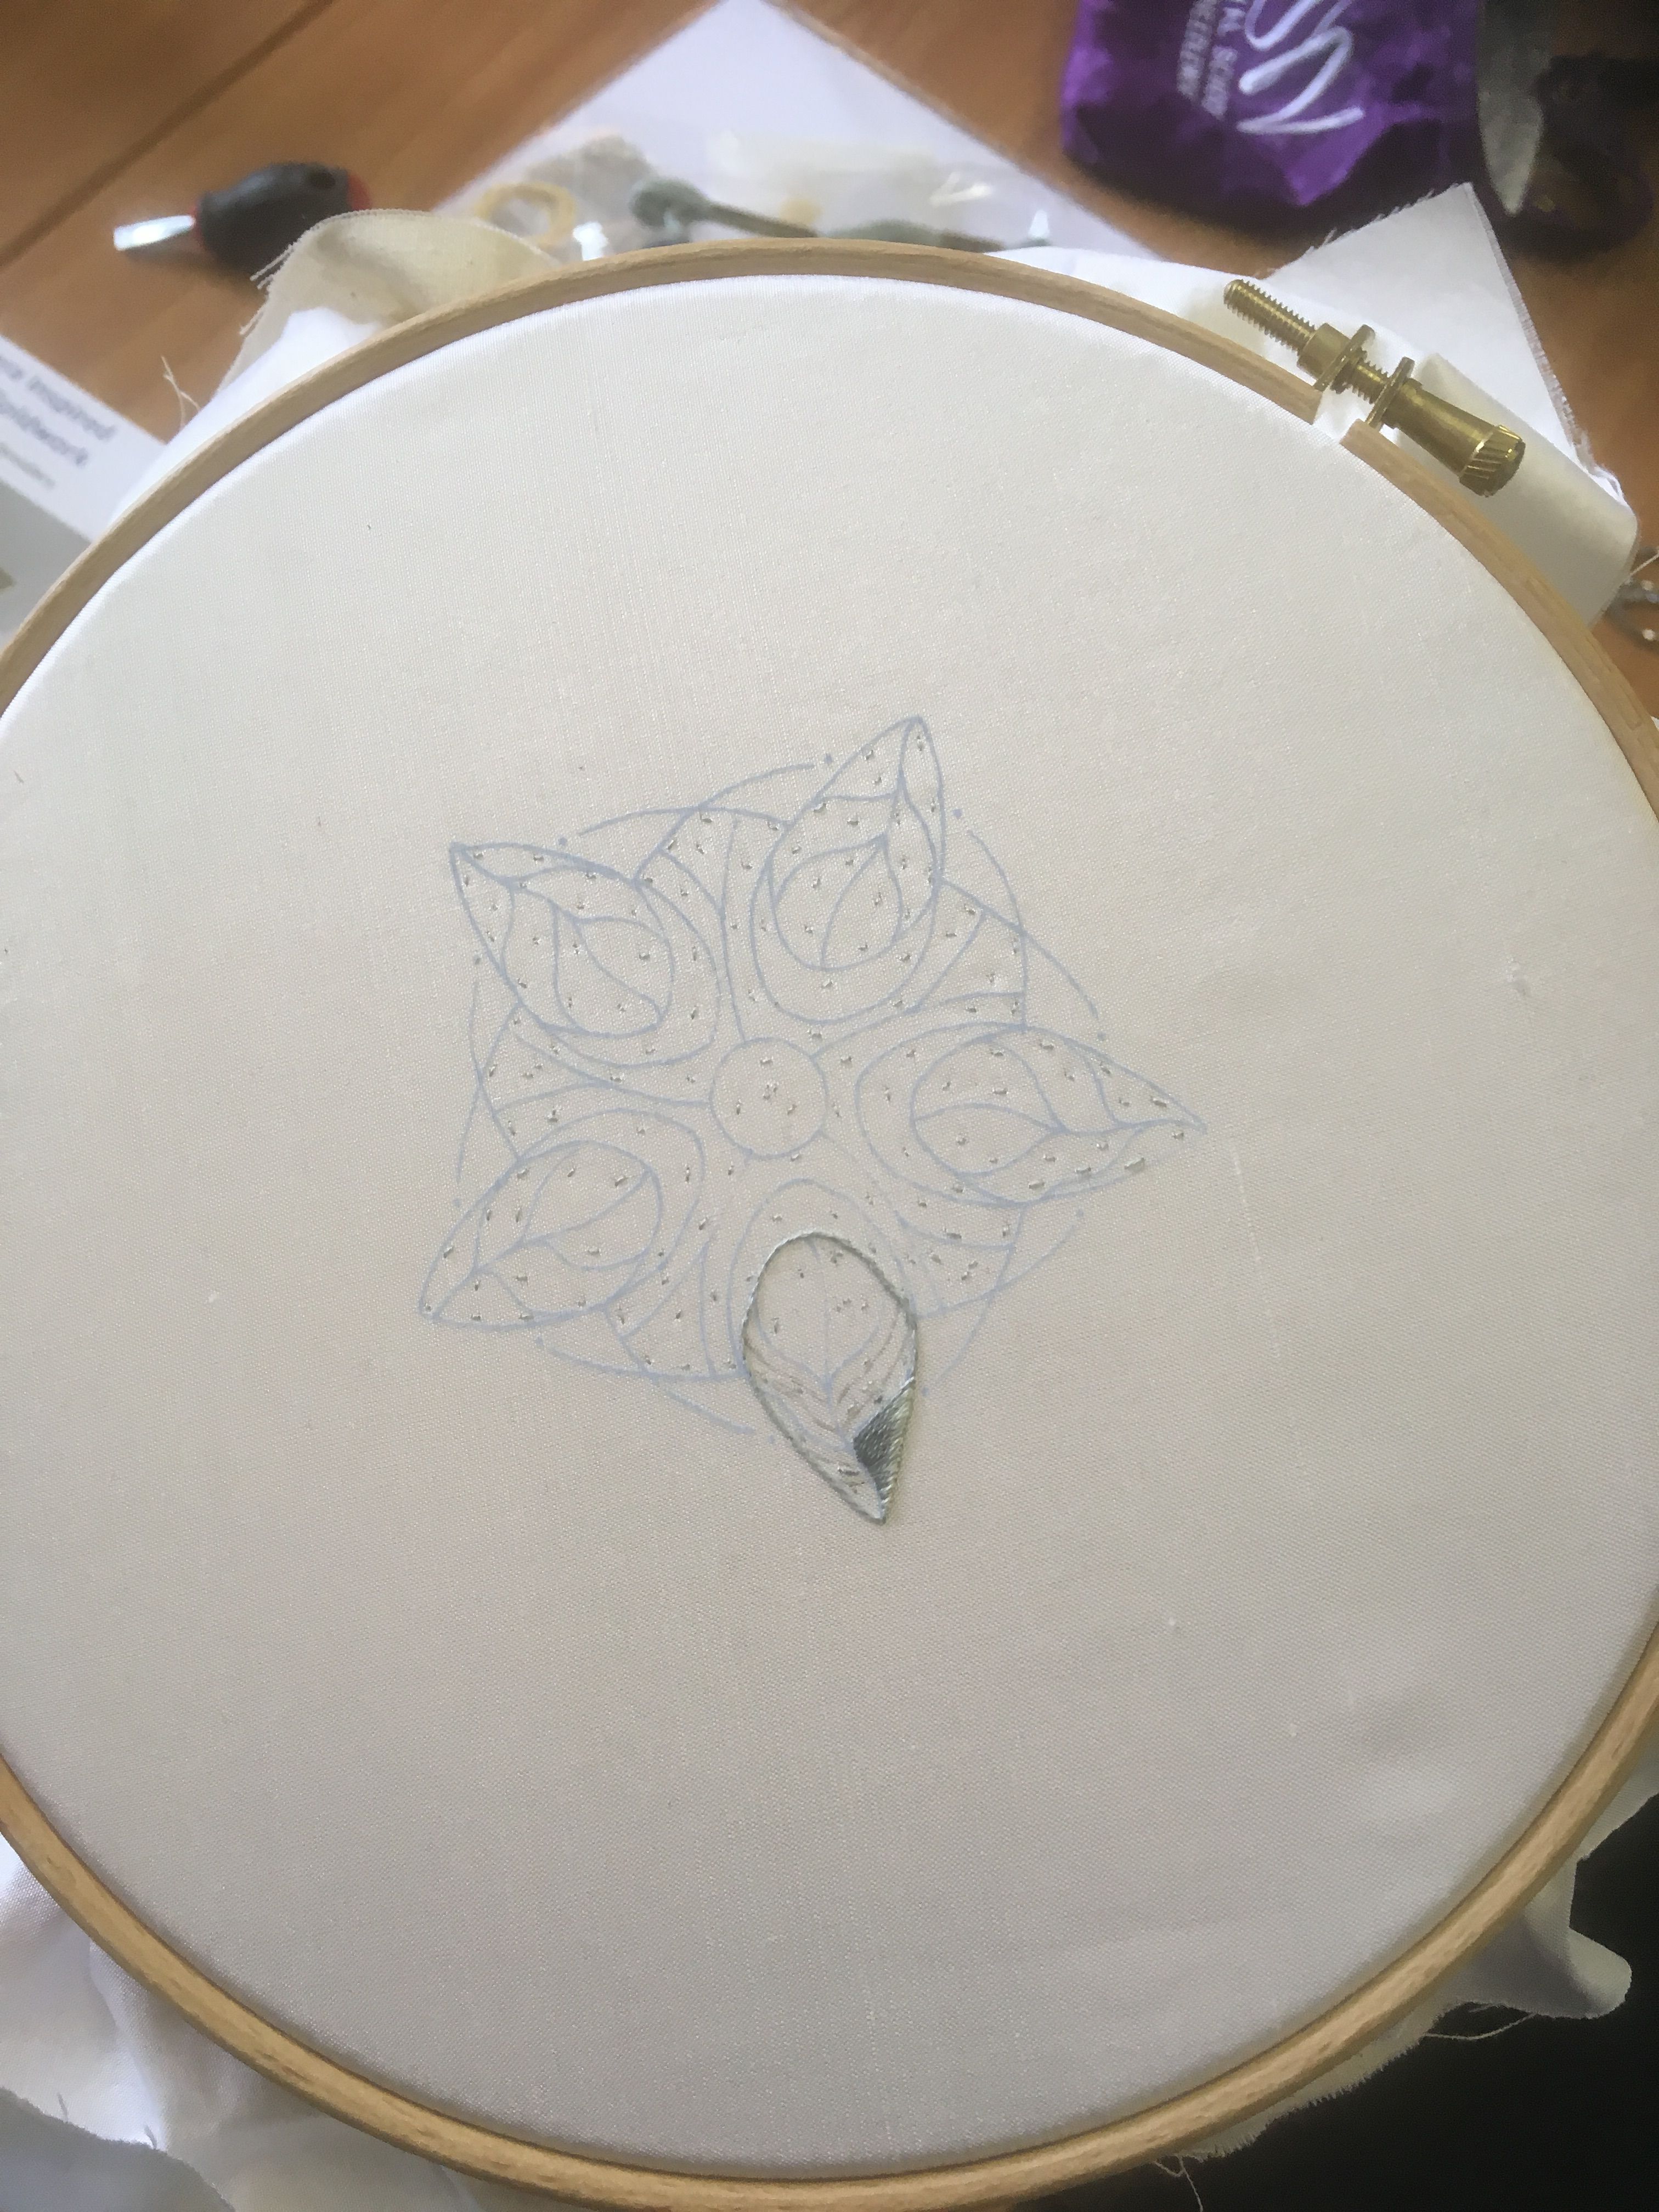
After tightly placing the base fabrics in a hoop, we stab-stitched throughout the design. The reason why we stab-stitch (and as it sounds, these are very small stitches randomly placed throughout the design), is to secure two layers of fabric. The top layer being the silk on which is printed the design, and the bottom layer which is calico. The calico produces a more solid base because if we were stitching on just the layer of silk, it would tear too easily given the delicacy of the fabric. Stab-stitching secures both layers so that when stitching, the top layer is held in place and puckering will be prevented. Below we can see the piece in the hoop along with the stab-stitching and the beginnings of the first leaf in Silk Shading.
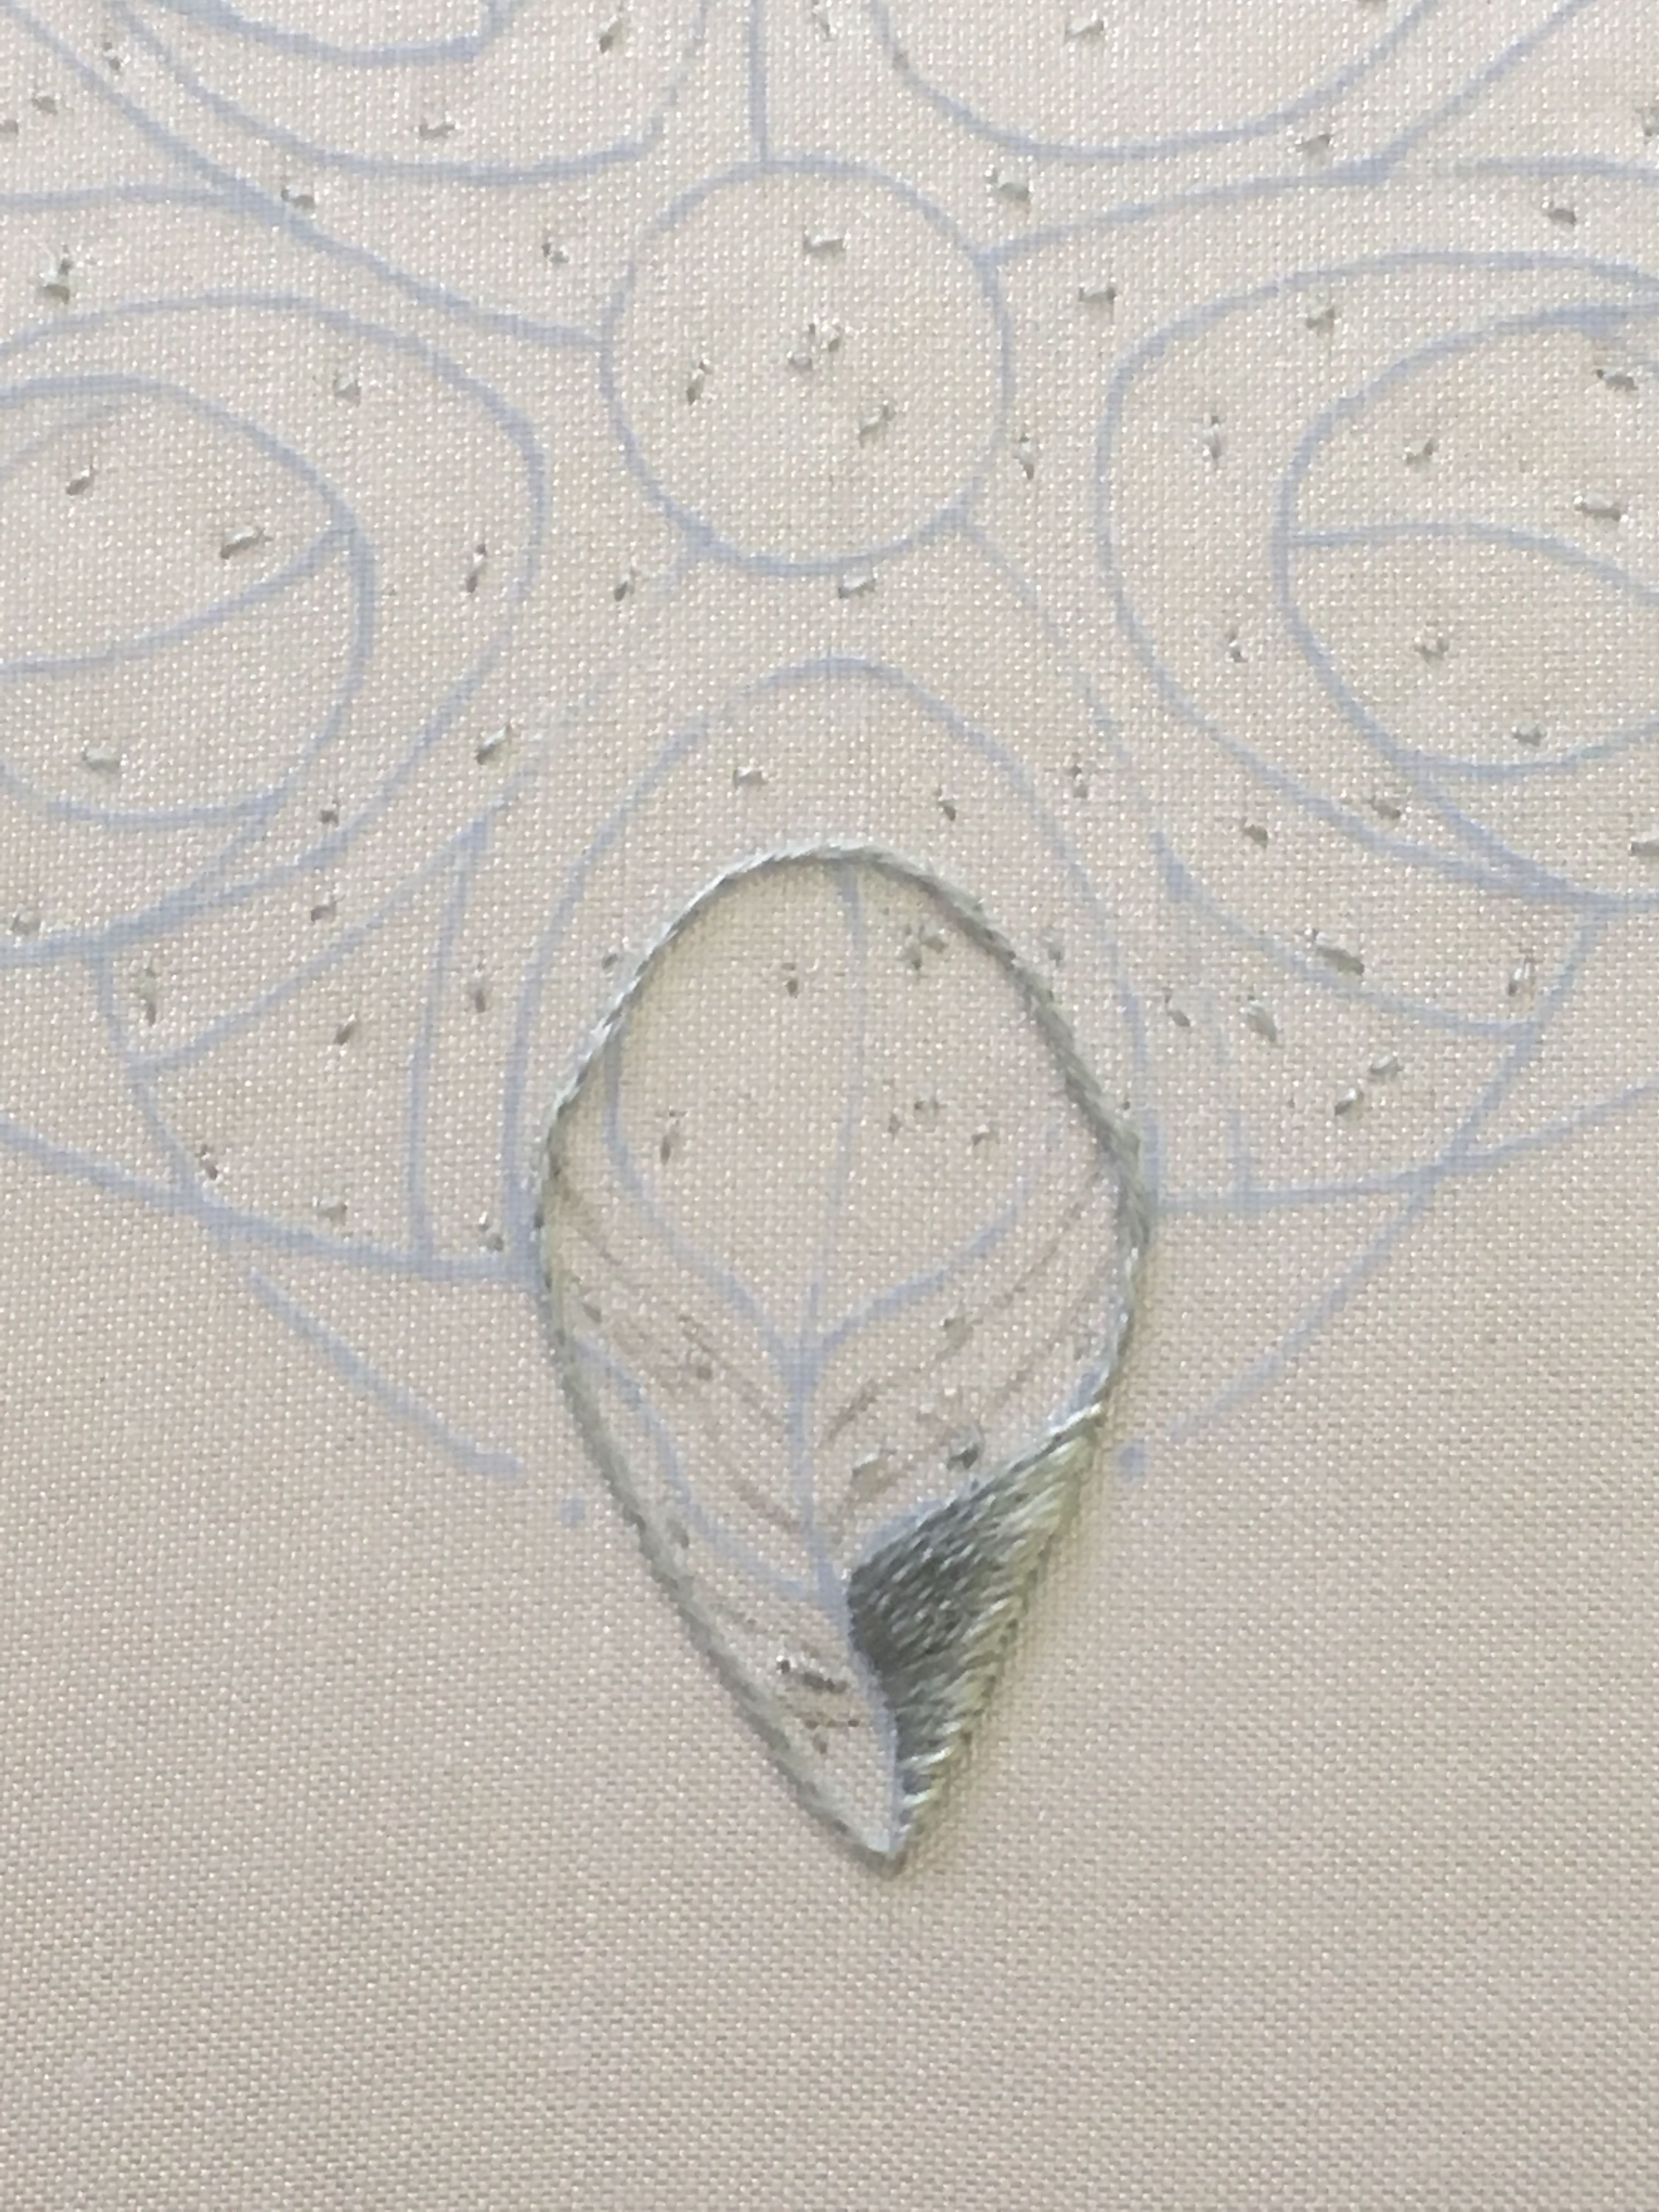
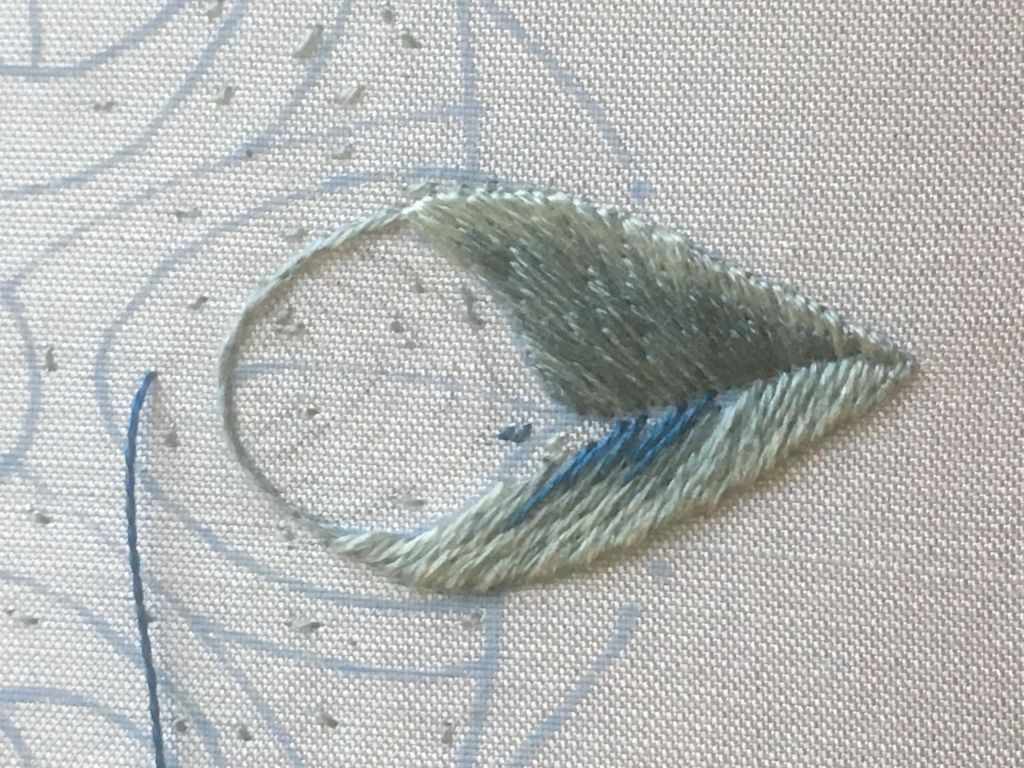
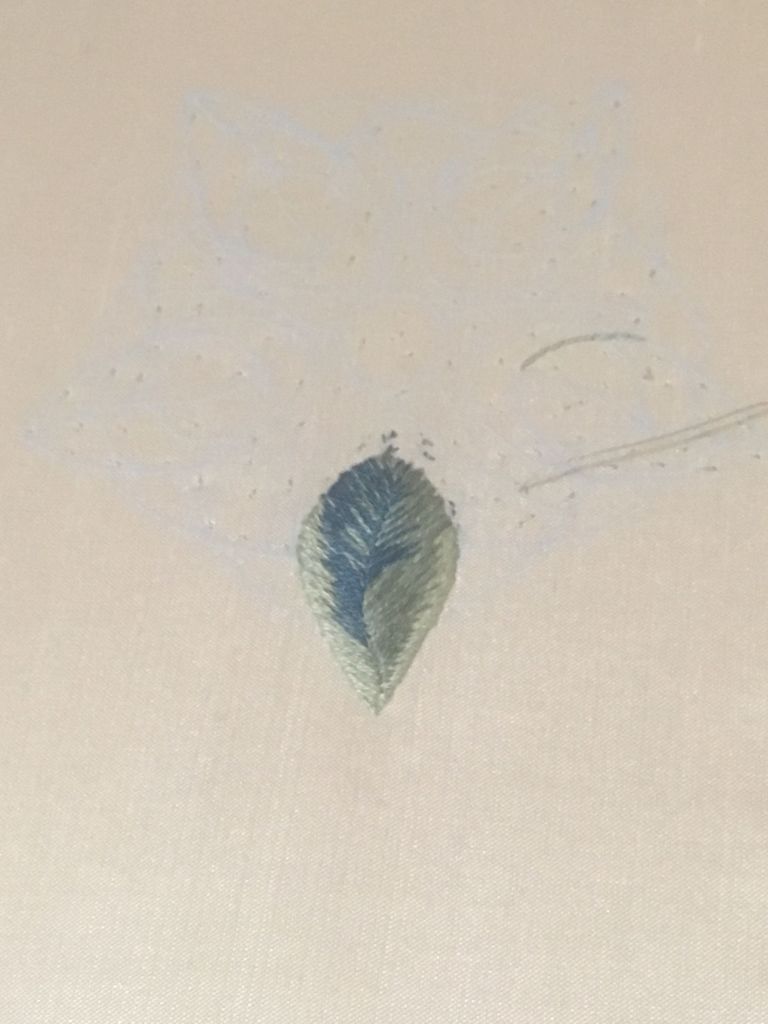
In the following pictures we can see how the Silk Shading on the outer leaves is advancing. Silk Shading, also called long and short stitch, is a technique which is sometimes described as needle painting. By gradually introducing colours into rows of long and short stitching, you are able to produce an image which mirrors a real object. We see this here in the outer leaves. I first made a split stitch outline of the leaf and then, starting at a central point, I came up with my needle inside of the design and brought the single thread over the split-stitch outline. This allows for a sharp shape to the leave. I then made my way done the section alternating between a long and short stitches until I came to the end of a section. After, I went back up to the original starting point, but this time brought my stitch up from within the design, trying to split a stitch from the first row and brought it down into the design towards the central vein of the leaf. In principle you should aim to make a long stitch in the second row after splitting a short stitch from the first and a shorter stitch in the second row after splitting a longer one from the first. However it does not always work like this, especially in smaller sections with sharper angles.