For my next post on appliqué, I am compelled to describe the stage in which one transfers the design. This began for me by applying the first layer of fabric onto the base, or in other words, applying the dyed calico onto the non-dyed calico. On the RSN brief for appliqué, one of the edges which could be used in an appliqué project is a machined edge. I bought a sewing machine last year and have done a little experimentation with it (including altering some net curtains with some very dodgy looking hems), but I am far from being skilled on a machine. I had to place the dyed calico onto the non-dyed base and sew the two together using a basic zigzag stitch, which I would then frame up as described in my last post. The pictures on the left and centre below do not look too bad, but once the whole piece was sewed on, it was a mess and plagued by some unsightly puckering. As a result, I had to unpick it and start again by hand. This shouldn’t come as a surprise to most hand embroiderers as we often turn our noses up at the thought of using a machine!


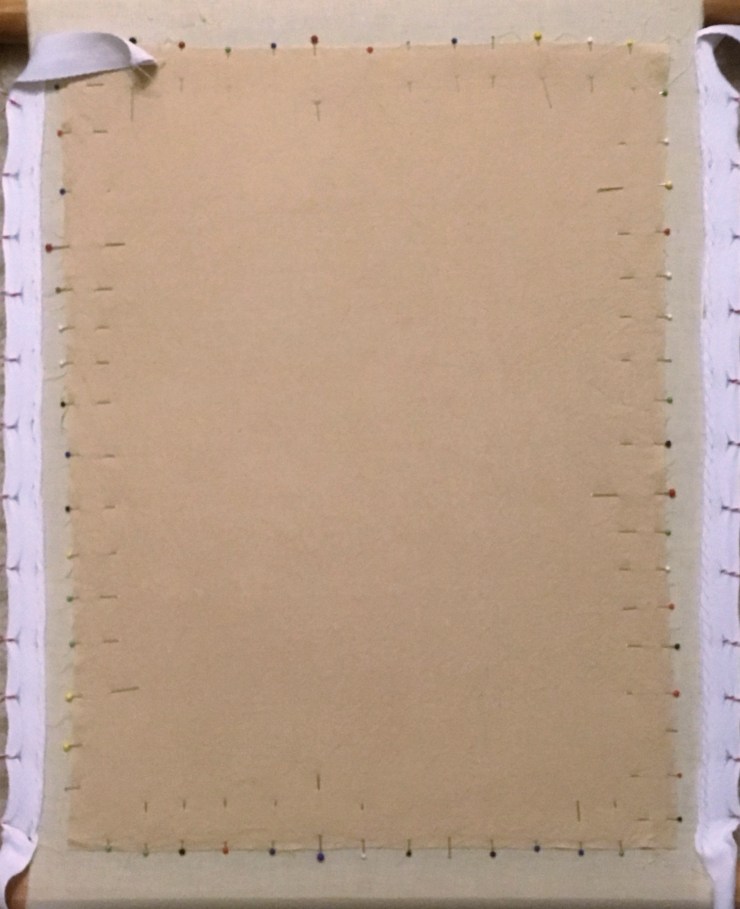
As you can see on the right, I placed the base calico on my desk, then placed the dyed calico on top, pinned the two together and herringbone stitched the edge using buttonhole thread and a curved needle. Little did I realise, doing this would eventually cause puckering when I framed up! I then had to take the dyed calico off the base calico and re-apply with the base fabric on the frame. This entailed re-pinning the dyed fabric and carefully stitch with a herringbone stitch, constantly smoothing out the fabric so that it did not pucker. However, I didn’t realise that the frame should be a little slack at this point because as you have to constantly change the tension in appliqué, starting off too taut would cause the base to pucker when the frame was slackened to apply pieces of fabric. It looks nice and taut in the picture below:
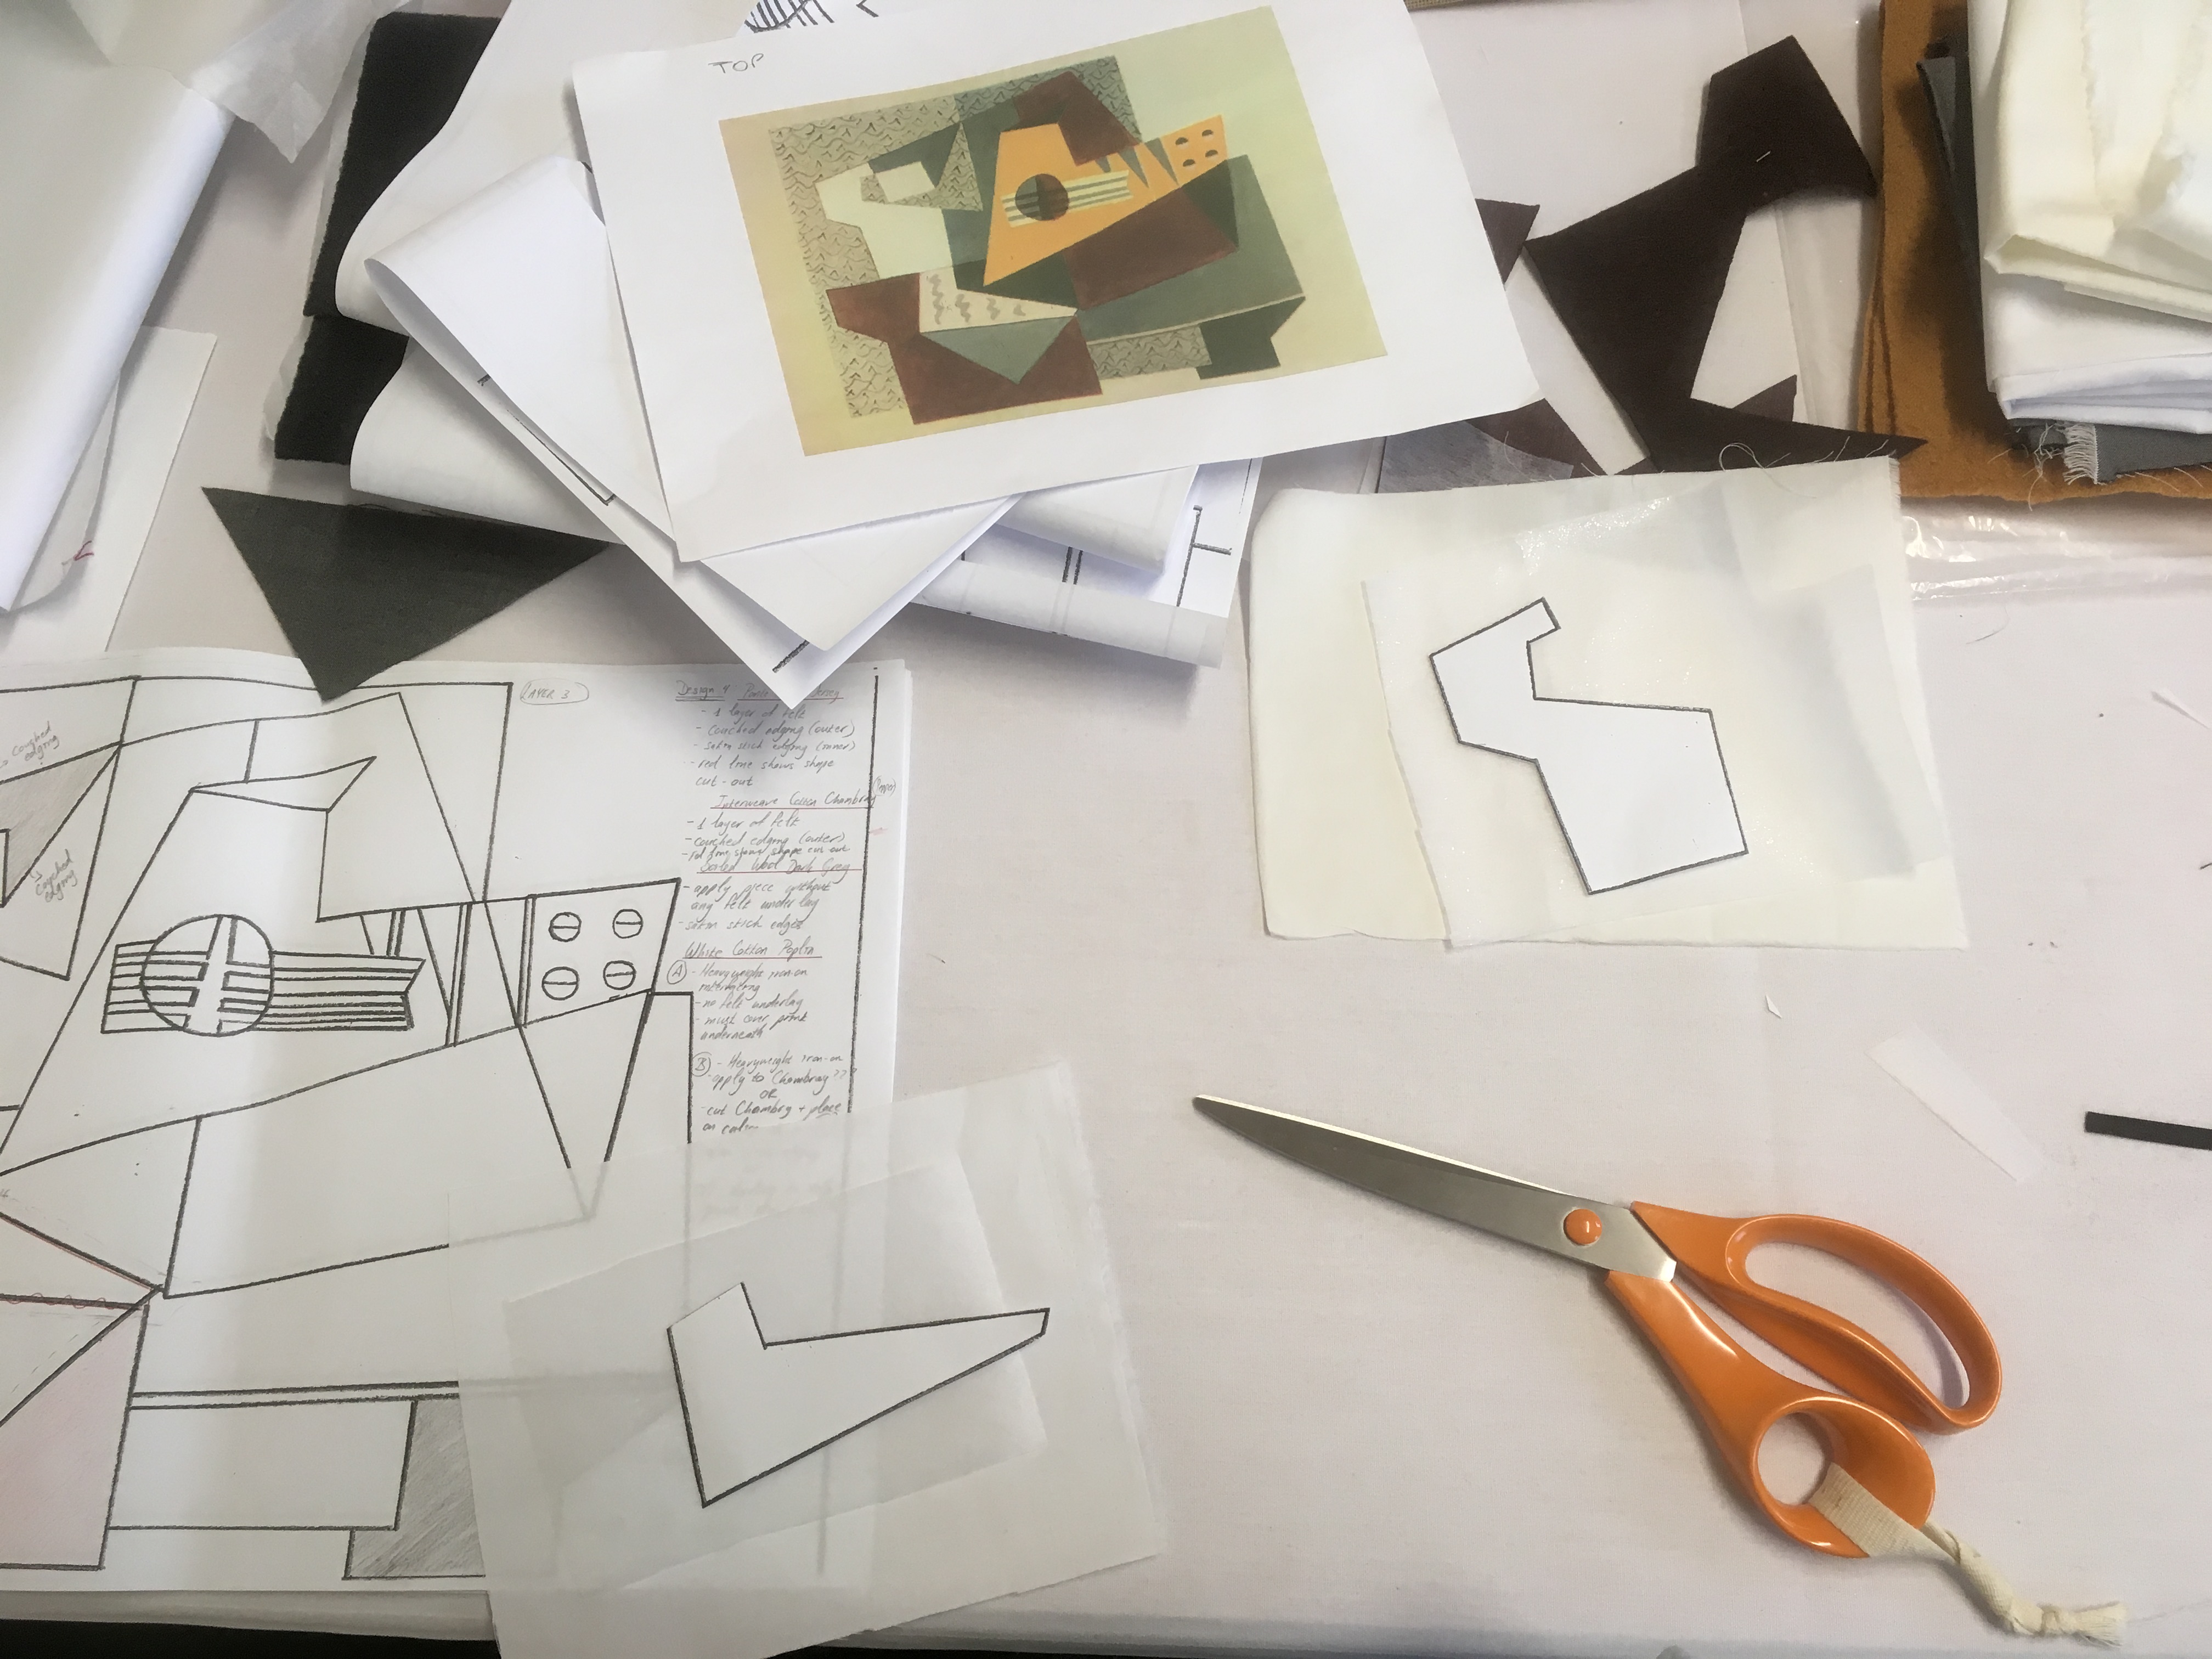
However, this too had to be taken out and re-applied onto a slackened frame! Once the frame had been prepared I could transfer my design (this having taken about two days of faffing about with putting on the base fabrics!). I am familiar with two ways of transferring a design. Either the “prick and pounce” method (which I will discuss in a future post) or drawing the design onto tissue paper and then tacking the design onto the fabric.


I placed the tissue paper over my original line drawing and re-traced the design onto the tissue paper. I then pinned it onto the (taut!) frame and used tacking stitches to make the outline on the underlying calico as shown above. Tacking stitches are long stitches which follow the design on the tissue paper. The end result looked like this:


On the left you can see the design tacked on with tissue paper, the right shows what the design looks like when the tissue paper is taken off. Yes, the tissue needs to be carefully removed as the tacking stitches are not very tight and are meant to be taken out as you apply your pieces. They only serve as a temporary guide to where the pieces need to be applied and if you tear off the tissue paper too quickly or too roughly, you will tear out the outline of your design as well. I don’t have any pictures of the “tearing off” process of my appliqué piece, but do have some from a piece I was working on for my City and Guilds course which I am doing parallel to the diploma for the RSN (more about that in another post!):


Tearing off the tissue paper can be a messy and time-consuming affair, but it does give you a great transfer allowing you to finally apply your pieces…
